

Making Mead

Hi everyone, Dan here!
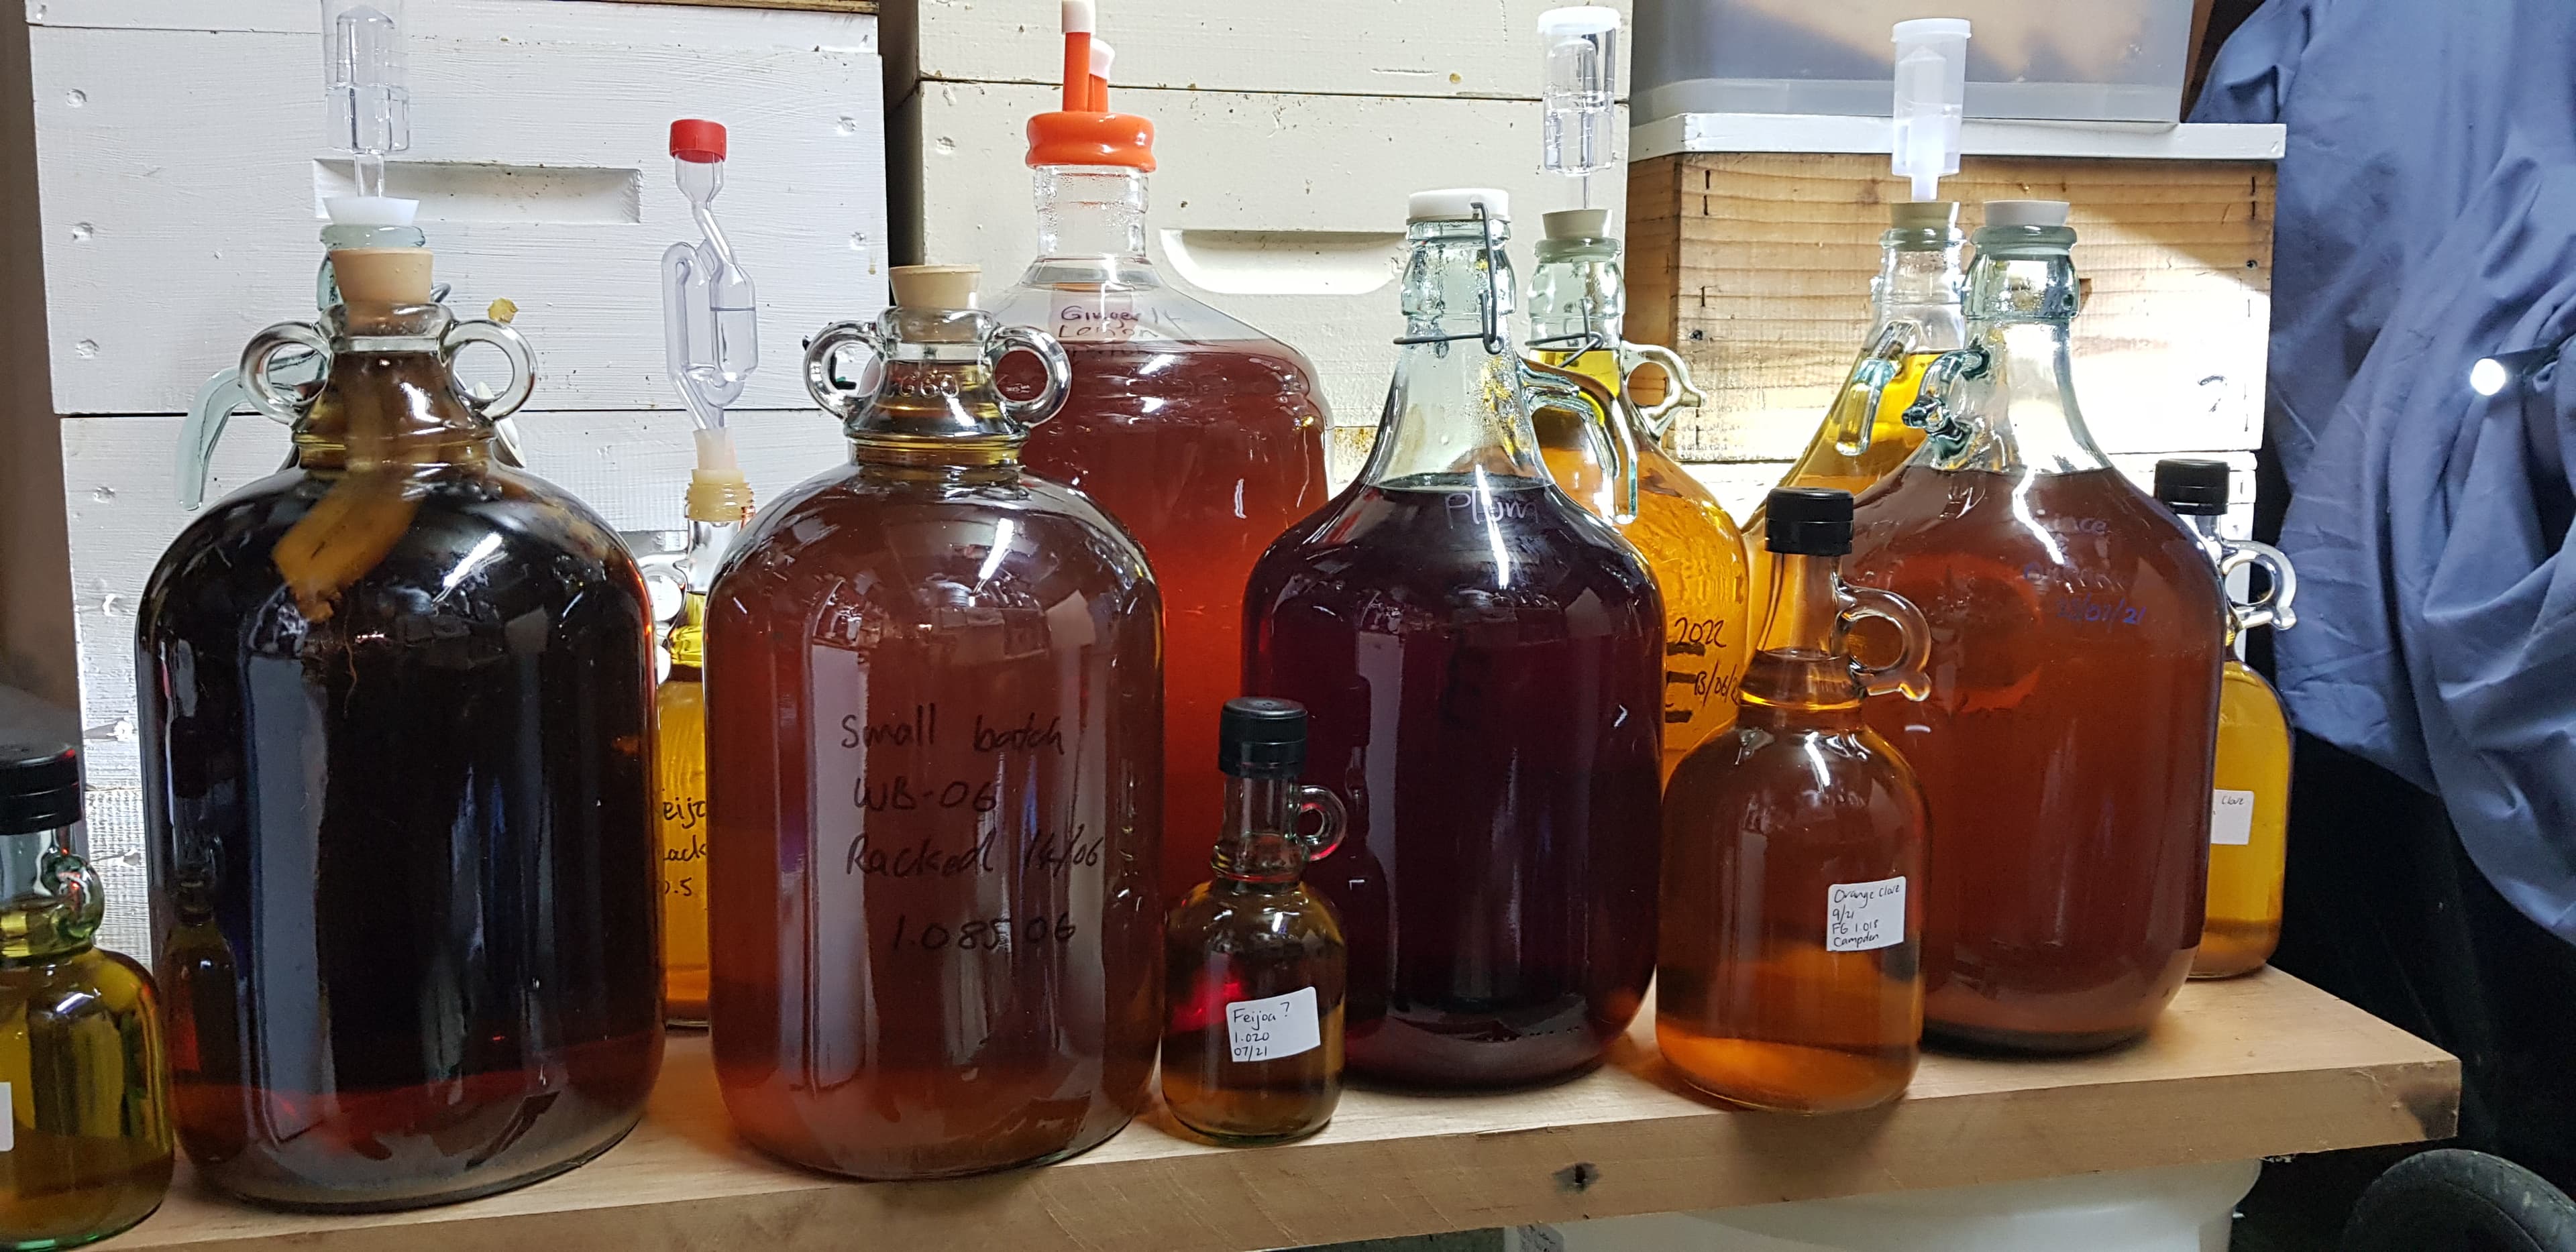
I just wanted to share my journey of making mead over the years. It has been a slow, yet rewarding, experience!
After tasting a few home brewed meads from local brewers which tasted great, I decided to make my own. Being predominantly a beer drinker and brewer, I thought this can't be too hard! However, after a few failed batches I was about to give up on the healthy gluten free beverage.
I decided to give the Grandma's Honey Mead Kit a go, which was super easy to follow. I couldn't believe the results I got with this kit! Along with the right amount of nutrients, the tannin and acid additions (all included) transformed the mead into a different drinking experience, and a good one at that. If I could find one word to give to this kit it would be "balanced".
This had been absent from my previous batches of mead, and the kit was a real stepping stone into how to create a good mead base. Moving forward from here I have experimented with fruit, spices, wood and a raft of other interesting ingredients.
Along with back sweetening, tannin and acid additions in my latest mead batches, I have found that the only real way to get the balance right was to add honey, tannin and acid post fermentation once the mead had been racked to secondary (a day or 3 before bottling).
I take 50ml samples of back sweetened mead, and add tannin and acid in micro doses until my palate found the right balance. Then I multiply the doses by the amount of mead to be adjusted - this was normally a 5L demijohn of pre-racked mead. The easiest way to add the micro doses was using a pipette and separately pre-dissolving the tannin and acids in a small amount of warm water - 20ml. I have used a 50/50 Malic and Tartaric acid blend which is less one dimensional and gave good results.
Being happy with the final balance I would let the mead sit for a day or 2 to let settle before bottling. Now the hard part which is a waiting game! Mead does need a conditioning phase and depending on how strong, how sweet or dry the mead is will determine when the mead will be at it's best for consumption. In most cases a sweet mead will be ready to go earlier than a dry mead, and a low alcohol mead sooner than a punchy 14 percenter. In my experience 6 months really softens most meads!
Mead is the new drink on the block, although it is older in history than any other alcoholic beverage on the planet! If you haven't tried mead there are commercial examples out there and I recommend giving one a go, or even better brewing one yourself!
Please get in touch for any advice, and happy mead making!
You can find the Grandma's Honey Mead Kit here.
Dan Hagenaar
Retail

Dan was customer number 37 after we opened the shop. He combines a passion for all things fermented with great customer service.
With a background as a trained chef, Dan has been all-grain brewing for the last 10 years and likes to dabble in mead and distilling too.
Dan's first attempt at home-brewing was back when he was 16. His parents were opposed to him even drinking alcohol and didn't know that he had stashed bottles of homebrew inside the wall cavities of his sleep out.
Not knowing what he knows now, sooner or later the inevitable happened and low and behold the exploding bottle bombs meant he had a sleep out with leaky walls. His parents were not impressed!
Dan's worked at League of Brewers since 2016 and has pretty much had every question you can have about home-brewing by now.